HOW TO
How to: Replace the HDD of your Vengeance Gaming PC
If you need to replace the HDD of your Vengeance Gaming PC, we can help you out.
Before replacing the HDD...
Before you begin to replace your HDD, make sure you do the following:
- Make sure your PC is powered off.
- Disconnect all cables that may get in the way.
- Make sure the switch on the back of your PSU is turned off.
- Disconnect your PSU from the main AC power cable.
Replacing the HDD
To replace the HDD:
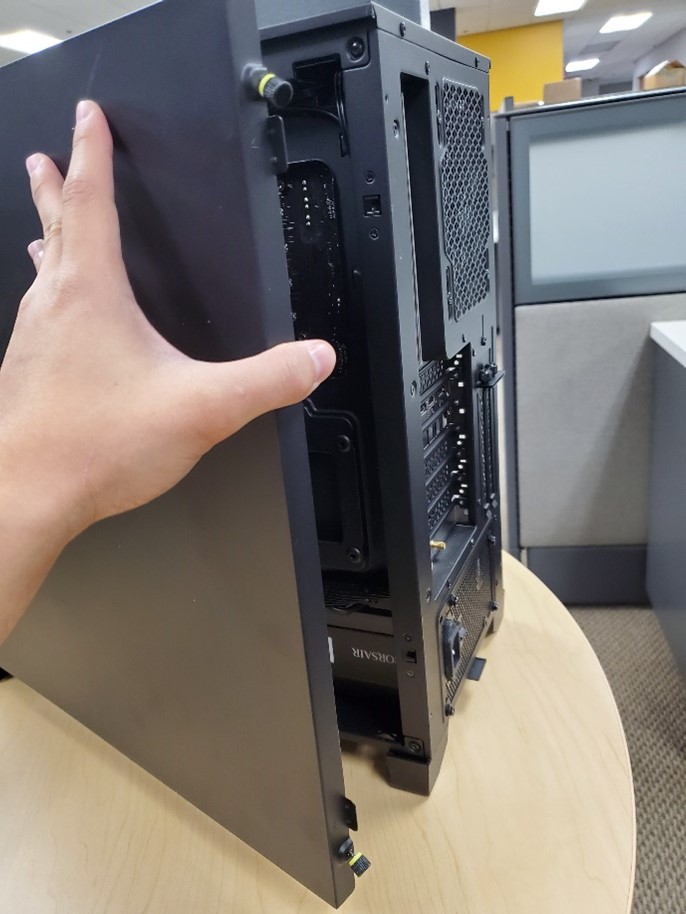
- Remove the side panel of your Vengeance PC by unscrewing the two screws at the back of your system and lifting the panel out.
- Locate the HDD at the front of your PC system.
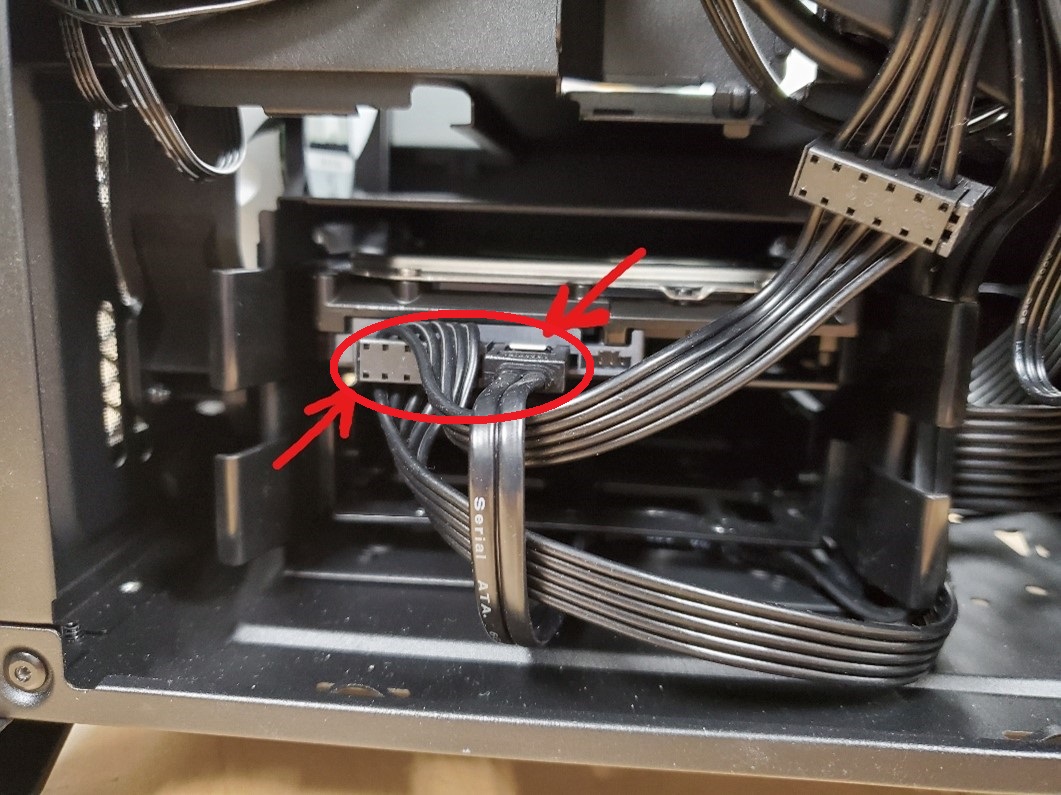
- Disconnect the power SATA connector and data SATA connector from the system.
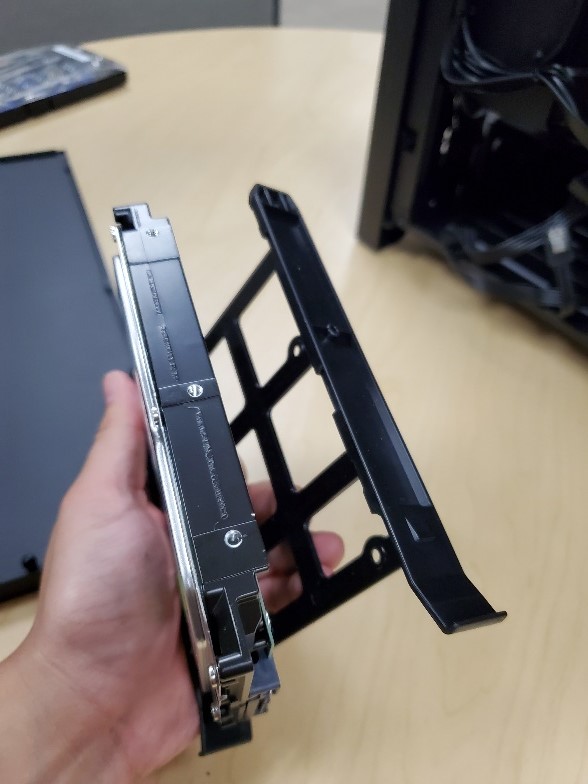
- Squeeze the tabs of the HDD tray to slide the tray out.
- Remove the HDD by carefully bending the tray so the pegs release the drive.
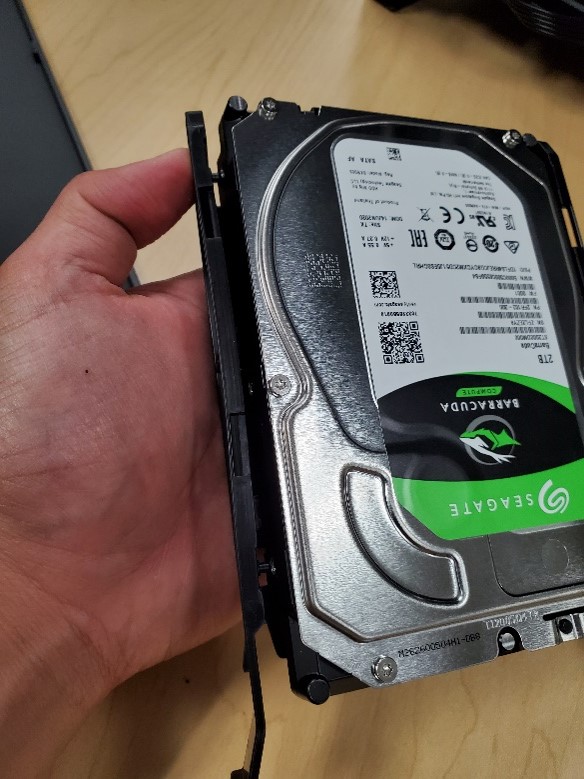
- Attach the HDD tray to your new HDD; the pegs should fit into the mounting holes of the HDD.
- Slide the tray back into the HDD cage.
- Reconnect the power SATA and the data SATA cables.
- Reattach the case side panel and reconnect your cables.
- Power on your PC and check for any issues.
相關內容


