HOW TO
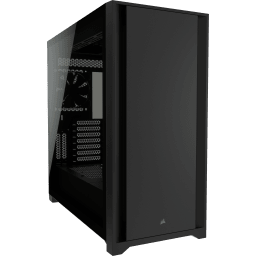
How to: Replace the IO Panel on the 5000D/5000X
Removing the I/O Panel is fairly easy. The steps below will outline the process of replacing the I/O panel for your case.
- Power off your PC and unplug the power cable from the wall. Flip the switch on the PSU to off.
- Remove the left glass side panel for the case so you can access the inside of the case.
- Unplug all of the I/O panel cables from the Motherboard.
- Remove these two screws.
- Once these screws are removed, the I/O panel will be loose and removable. This is what the I/O panel looks like from the top of the case.
- Now that the screws have been removed, the I/O panel can be removed.
- Slowly remove the I/O panel along with the attached cables that were unplugged in step #3, to avoid pulling/damaging any cables in the process
- Installing the new I/O panel is the same process in reverse. Feed the cables of the new I/O panel through the opening.
- Screw in the 2 screws from the inside of the case to fasten the I/O panel down.
- Reconnect all of the I/O panel cables back to the Motherboard.
- Put the glass side panel back on, reconnect the power cable for the PSU to the wall and power the PC back on.
REJESTRACJA PRODUKTÓW


