Need help replacing the memory of your Vengeance Gaming PC? We have a guide to help you out.
Before replacing the memory...
Before you begin to replace your memory, make sure you do the following:
- Make sure your PC is powered off.
- Disconnect all cables that may get in the way.
- Make sure the switch on the back of your PSU is turned off.
- Disconnect your PSU from the main AC power cable.
Replacing the memory
To replace the memory of your Vengeance Gaming PC:
- Remove the side panel of your Vengeance PC by unscrewing the two screws at the back of your system and lifting the panel out.

- Disconnect the 4 fan connectors on the back of your PC.
- Remove the top filter of your PC radiator.
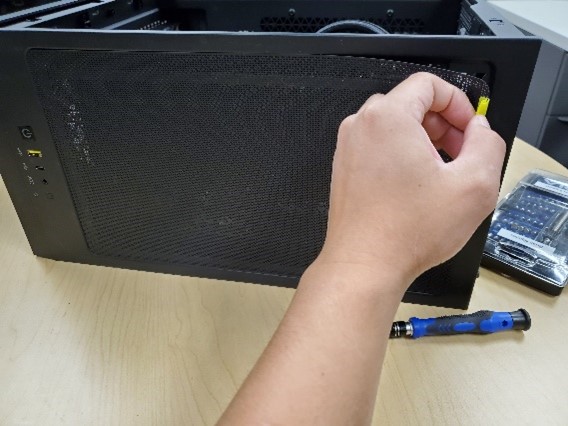
- Unscrew the 8 screws holding down the PC radiator.
- Remove the radiator.
- Set aside the AIO cooler so you can access the RAM; you do not need to completely detach the AIO cooler from your PC.
- Press down on the top tabs locking the RAM in place to cause the RAM to pop up.
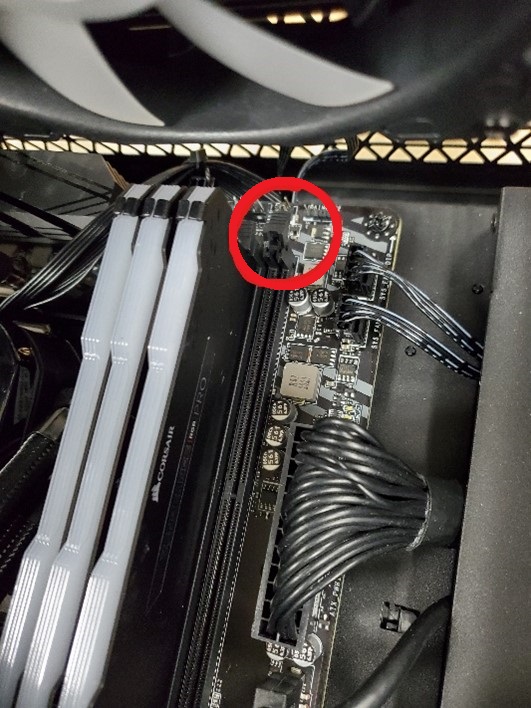
- Remove the RAM.
- Replace the RAM; make sure to line up the kits with the correct orientation of the slots to prevent damage to the board and memory.
- Reattach the radiator to the top of your PC case.
- Reconnect all disconnected cables and connectors.
- Reattach the side panel of your PC case.
- Power on your PC and see if there are any issues.


