HOW TO
方法CORSAIR Hydro X シリーズ XC7 RGB を Intel LGA 1200 に取り付ける
Have an Intel LGA 1200 socket and need some help installing your XC7 RGB cooler? We have a video to help walk you through the installation process.
Video instructions
Installing the XC7 RGB
To install the XC7 RGB:
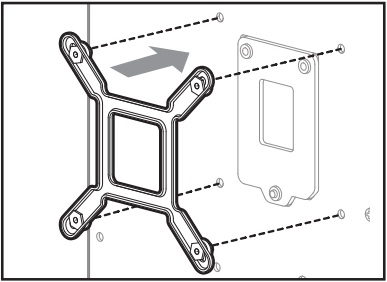
- Remove the protective film from the self-adhesive side of the Intel LGA 1200 CPU backplate.
- Place the backplate on the motherboard; make sure to align the the backplate with the holes on the socket.
- Remove the TIM protective cover from the underside of the XC7 RGB water block.
- Place the water block on the Intel LGA 1200 CPU backplate.
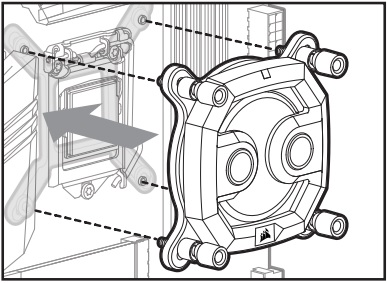
- Tighten the screws of the XC7 RGB to secure it onto the backplate.
- Use the included RGB adapter cable to connect the XC7 RGB to a CORSAIR lighting controller, another Hydro X series component, or a motherboard RGB header.
Once you have finished installing the XC7 RGB, you can use iCUE to customize the RGB lighting on your cooler.