HOW TO
方法VengeanceゲーミングPCのGPUを交換する
Have a new GPU for your Vengeance Gaming PC? We can help walk you through replacing your old GPU.
Before replacing your GPU...
Before you begin to replace your GPU, make sure you do the following:
- Make sure your PC is powered off.
- Disconnect all cables that may get in the way.
- Make sure the switch on the back of your PSU is turned off.
- Disconnect your PSU from the main AC power cable.
Replacing your GPU
To replace the GPU:
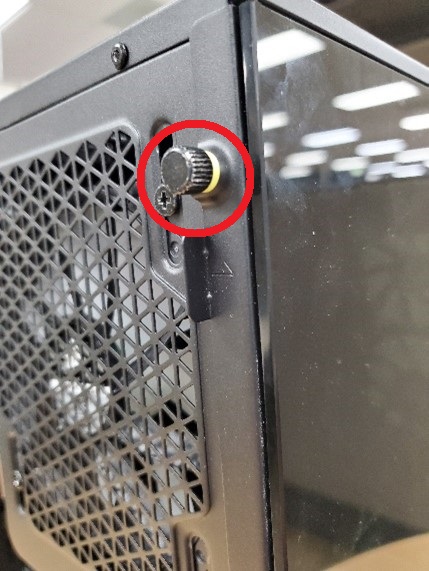
- Remove the side panel of your Vengeance PC by unscrewing the two screws at the back of your system and lifting the panel out.
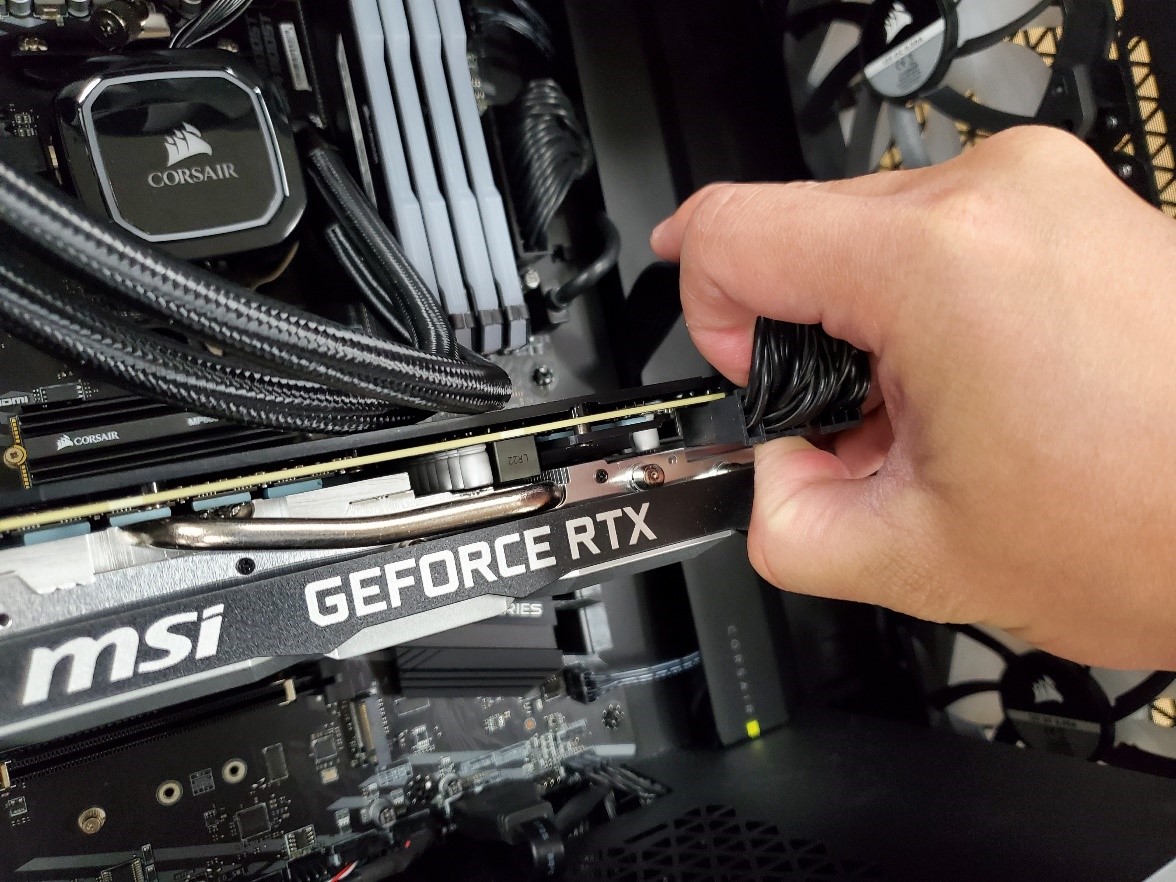
- Disconnect the PCIe cable from the graphics card; there is a clip on the cable that must be pressed down to release the connector.
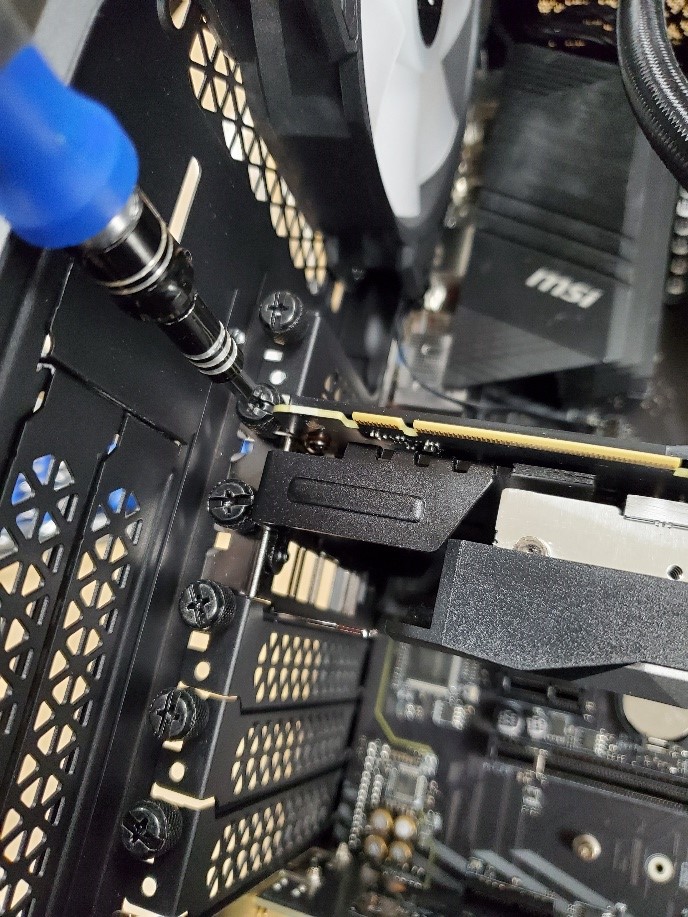
- Use a Phillips screwdriver to remove the two screws holding down the GPU to the PCIe slots on the back of the PC.
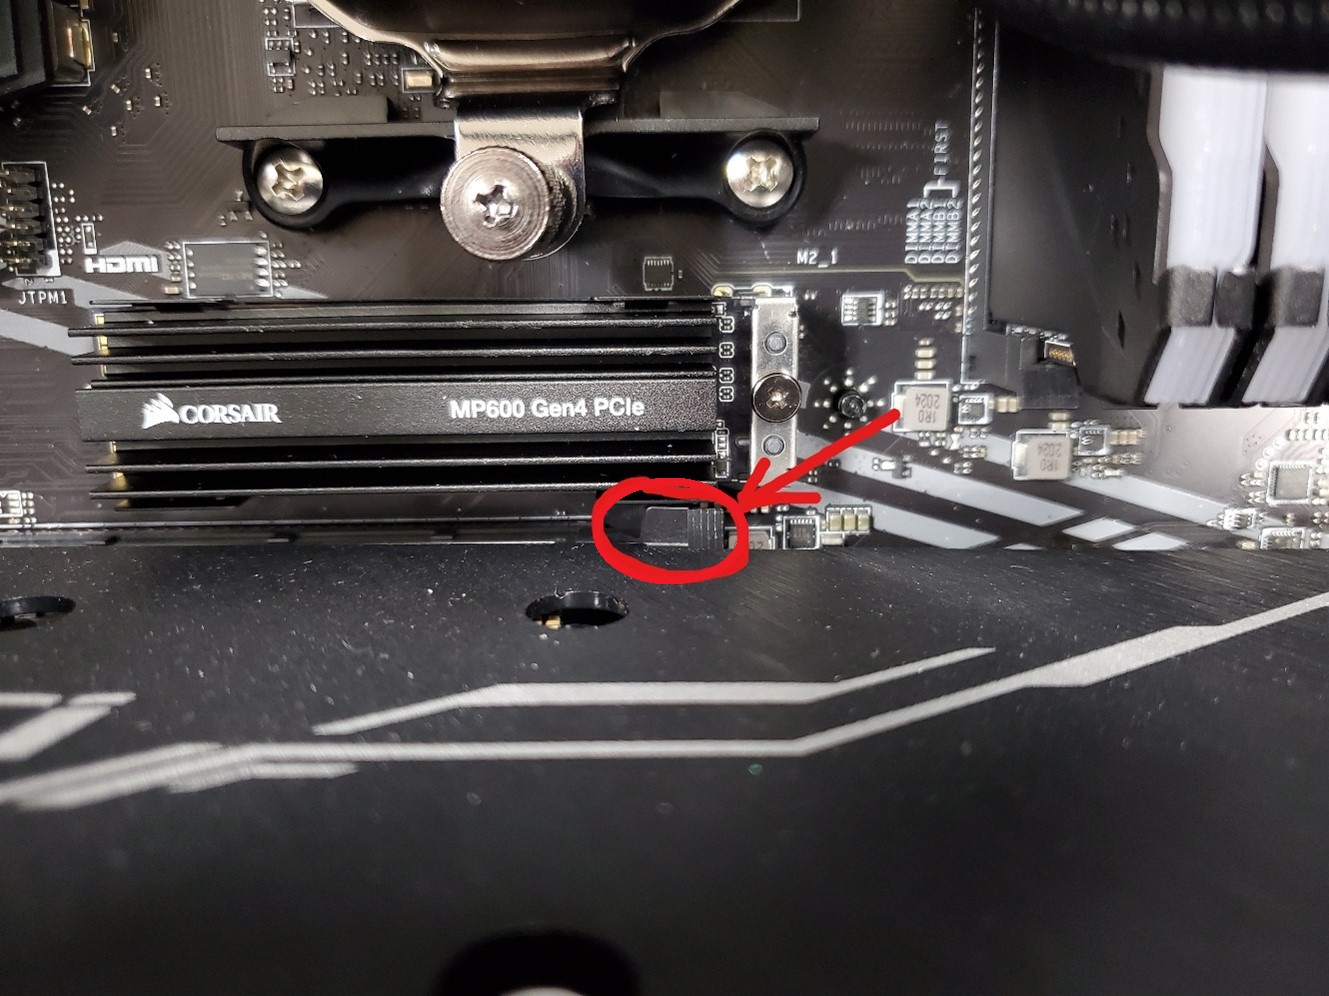
- Press down on the PCIe latch to completely release the GPU.
-
NOTE: Do NOT attempt to remove the card without fully pressing down on the latch; doing so may damage your PC.
-
NOTE: Do NOT attempt to remove the card without fully pressing down on the latch; doing so may damage your PC.
- Carefully remove the old GPU.
- Line up your new GPU with the PCIe lane on the motherboard and slide it in; the latch should click down when it is in.
- Reattach the screws to fasten the GPU to the PCIe slots.
- Reconnect the PCIe cable to the graphics card; the clasp will clock once plugged in.
- Reattach the side panel of your Vengeance PC.
- Reconnect the main HDMI / DP cable to the GPU.