HOW TO
取り付け方法CORSAIR HYDRO X シリーズ XC7 RGB PRO CPU ウォーターブロックを LGA 1700 ソケットに取り付ける。
The CORSAIR HYDRO X Series XC7 RGB PRO CPU water block can be fitted on an LGA 1700 socket, which is used for Intel Alder Lake processors. This article will walk you through how to install the water block.
Installing the cooler
The first step is to prepare and install the backplate onto the motherboard.
- Move the backplate standoffs into the proper position for installation.
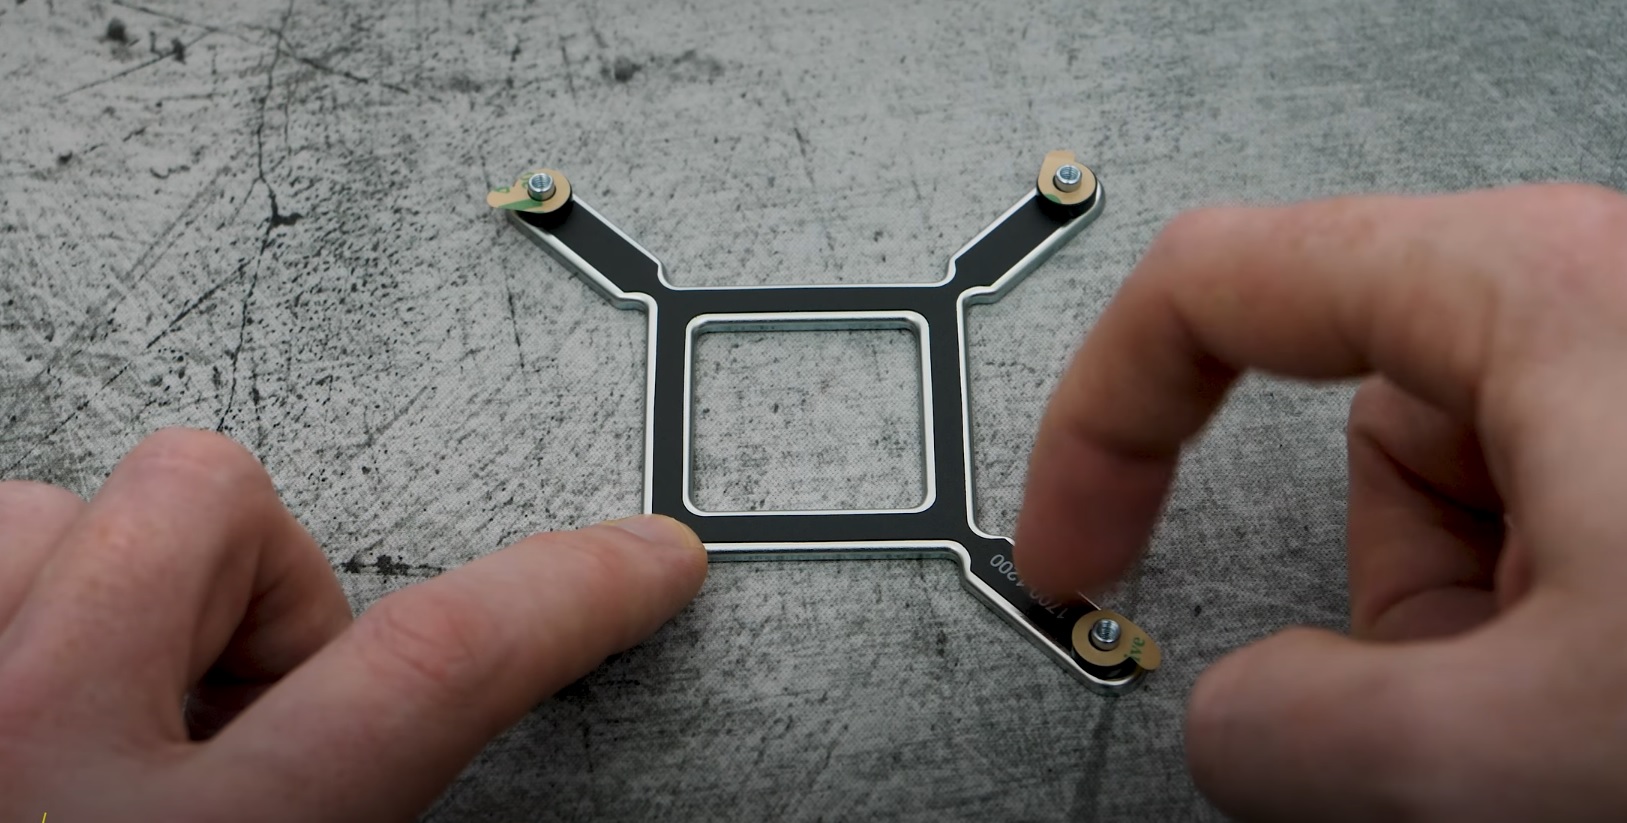
- Remove the protective film from the self-adhesive on the standoffs.
- Install the backplate onto your motherboard; make sure to align the standoffs with the proper sockets.

Once you have installed the backplate, it is time to prep and install the water block.
- Move the mounting screws on the CPU mounting bracket to the proper positions for installation.
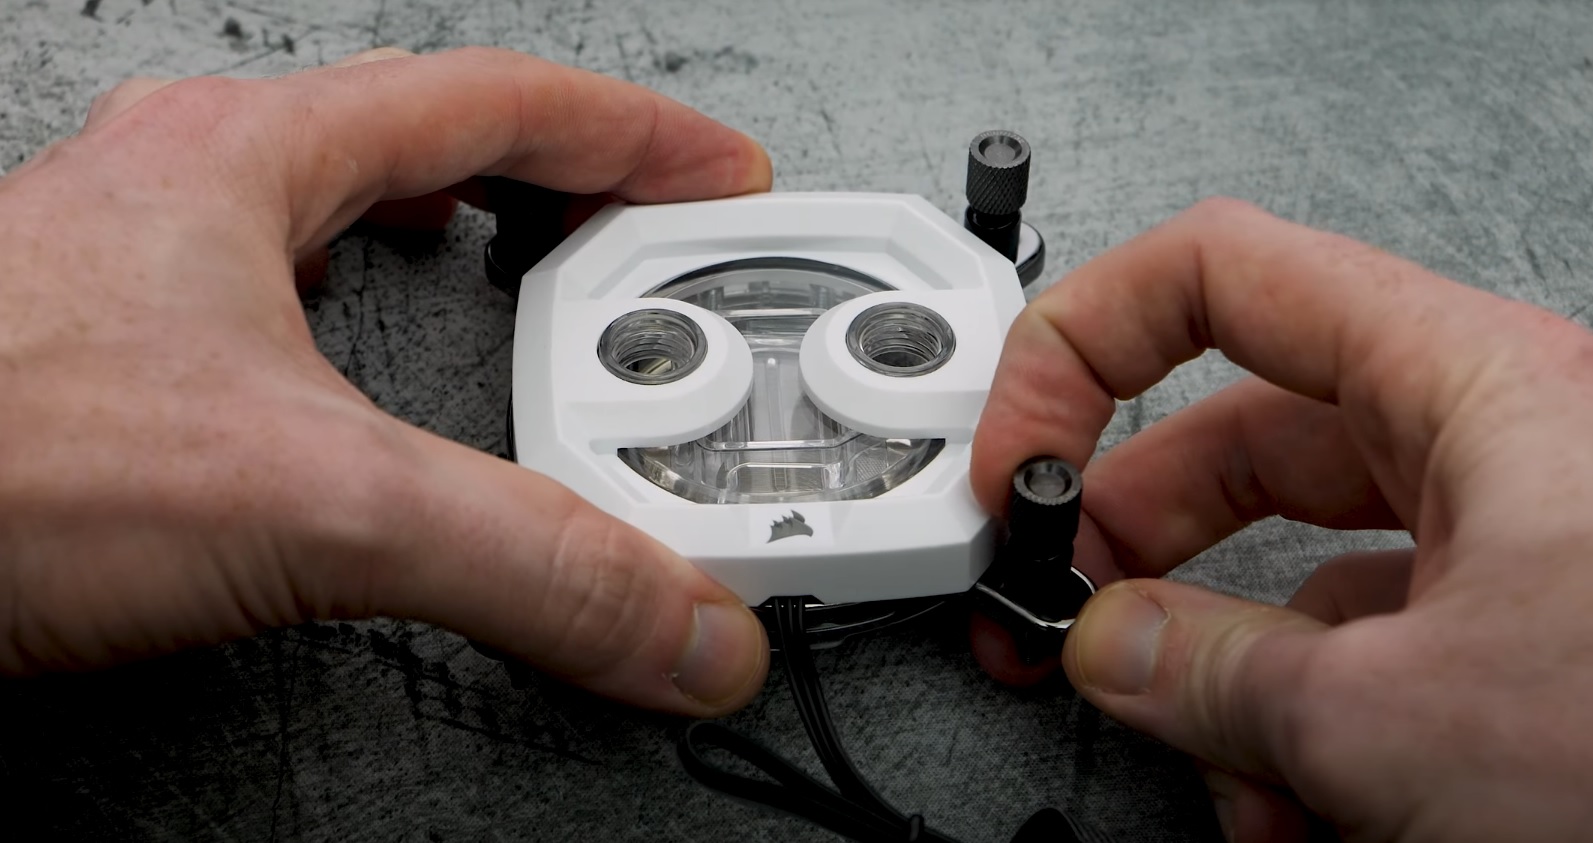
- Remove the protective cover from the water block.
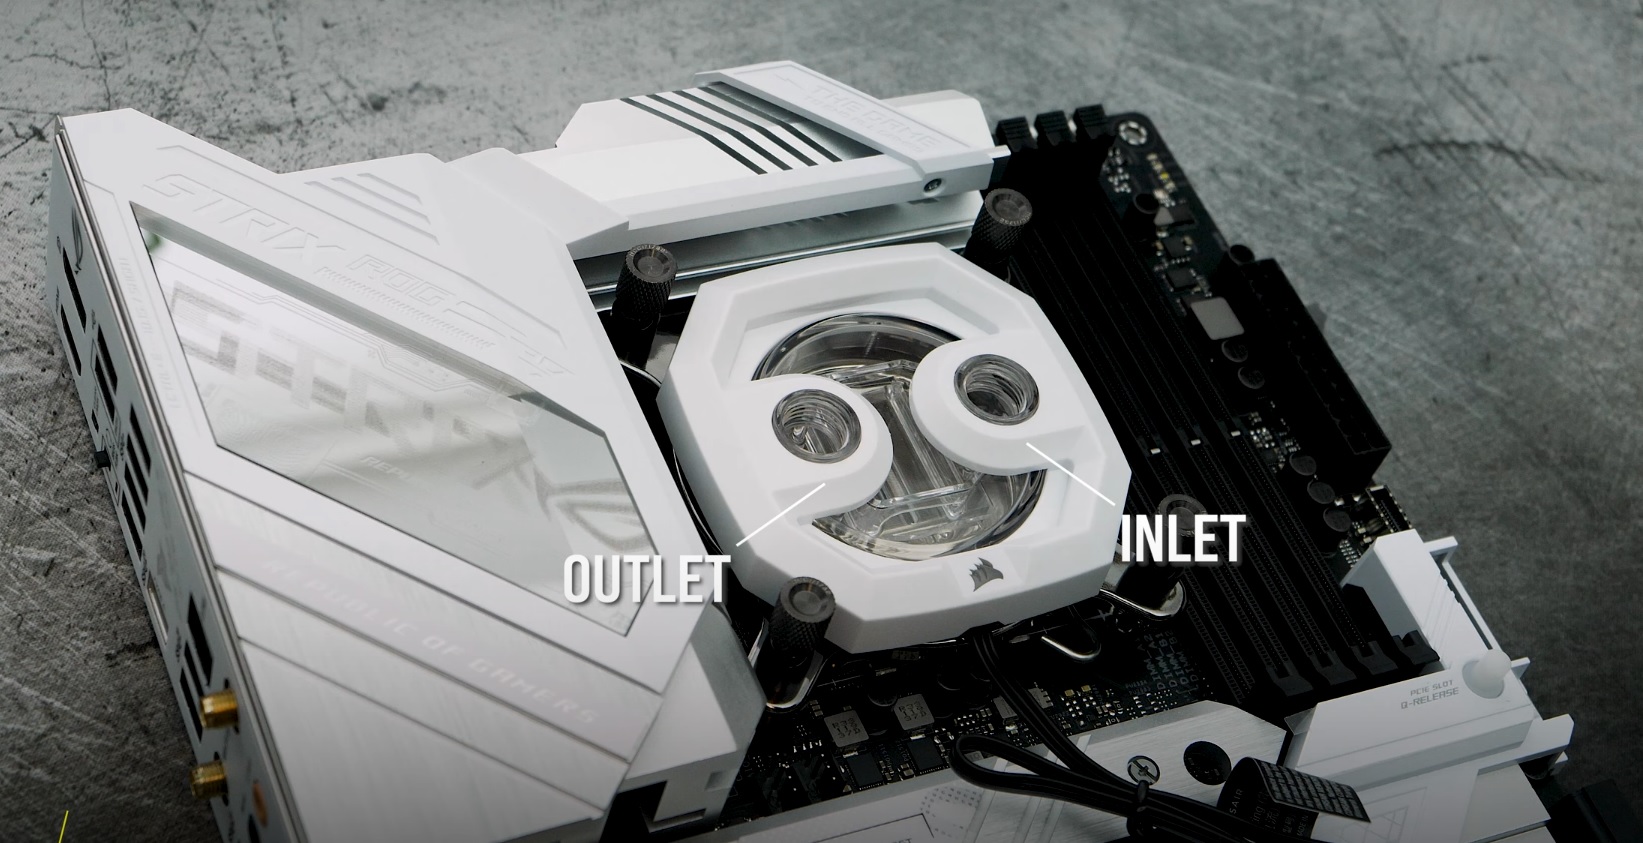
- Install the water block on the motherboard; make sure to align the mounting screws with the proper sockets on the motherboard.
- Tighten the screws on the water block to secure it to the motherboard.
- Connect the water block to a CORSAIR lighting controller or a 5V ARGB header on your motherboard.
- Connect your water block to your cooling system using the inlet and outlet of the water block.
Video instructions
関連コンテンツ


