Unless you’re lucky enough to have a PC with a reverse connector motherboard, you’re going to have to manage all your cables to make the build look tidy. This is usually easy enough, as you can always just cram them all behind the motherboard panel and close the case, especially if the space back there is particularly capacious, like in our 6500 and 2500 Series cases.
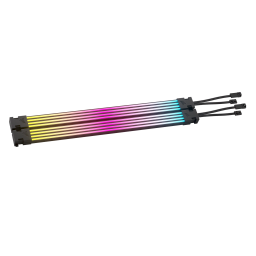
However, even with that regretfully effective tactic, you can’t avoid the cables on the other side of the motherboard tray. They are going to be visible whether you like it or not, especially those ever-infuriating GPU cables. So, if they’re unavoidable, why not make them look good? Hence, we made the iCUE ARGB PSU cable strips. Let’s take a look.

iCUE ARGB PSU Cable Strips specs
- Length: 240mm (200mm lit section)
- Width: 16mm
- Thickness: 10mm
- LEDs: 100 per strip
- iCUE Compatibility: Yes, iCUE Controller Required (Sold Separately)
- ARGB Support: Yes
- Mounting mechanism: Cable Clips (included)
- Multi-unit Support: Yes, requires use of SATA Power Injector Y-cable (Included)
- Warranty: 2 years


Basically, these work by clipping onto any of the cables you wish to hide and can be controlled just like any other RGB product via iCUE. It’s worth being clear for a moment and letting you know that these are not power cables. They do not plug into your PSU, and they do not and cannot provide power to any components. With that quick disclaimer out of the way, let’s get into some more details.
iCUE or ARGB
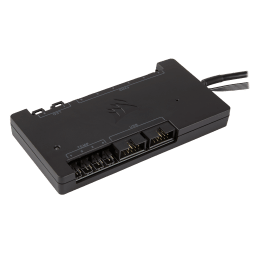
First up are the control options. As you can see from the ARGB PSU Strips manual, they can be controlled by dedicated controllers such as the COMMANDER CORE XT or the COMMANDER PRO, or directly via a 4-pin RGB header on your motherboard. This means you can get total functionality whether you’re into the CORSAIR ecosystem or not.
How to use the iCUE ARGB PSU Cable Strips
Given that the position and number of cables vary depending on your case layout and components, this will not be a prescriptive tutorial, but more like general advice. The Cable Strips manual can always be consulted for additional guidance.

The cable strips are 16mm wide, so make sure you have enough to cover the width of wider cables. You can link multiple strips side-by-side to cover broad suspects like the motherboard 24-pin connector.
In the box, you’ll find a few different sizes and styles of clips. The goal here is to use a combination of the clips to securely fasten the cable strips to the cables. It’s hard to tutorialize this because PSU cables can differ significantly depending on the material used for the sheathing.


You’ll notice a few additional clear clips in the box, too. These are for providing extra fixture points down the length of the cable and are particularly handy when the cable curves or twists in an awkward way. It’s also worth mentioning that if you’re using three or more strips (GPUs with 3x 8-pin connectors being the primary use case), you’ll need to provide some additional power via the included SATA Injector Y-Cable.
Once you’ve installed and adjusted the iCUE ARGB PSU Cable Strips to your liking, simply open iCUE or your motherboard’s RGB control software and tweak the colors until you’ve got something stunning. Enjoy.

PRODUCTS IN ARTICLE