HOW TO
Comment faire : Remplacer le SSD NVMe de votre PC de jeu Vengeance
Need help replacing the NVMe SSD for your Vengeance Gaming PC? We can help you out.
Before replacing your SSD...
Before you begin to replace your SSD, make sure you do the following:
- Make sure your PC is powered off.
- Disconnect all cables that may get in the way.
- Make sure the switch on the back of your PSU is turned off.
- Disconnect your PSU from the main AC power cable.
Replacing your SSD
To replace your SSD:
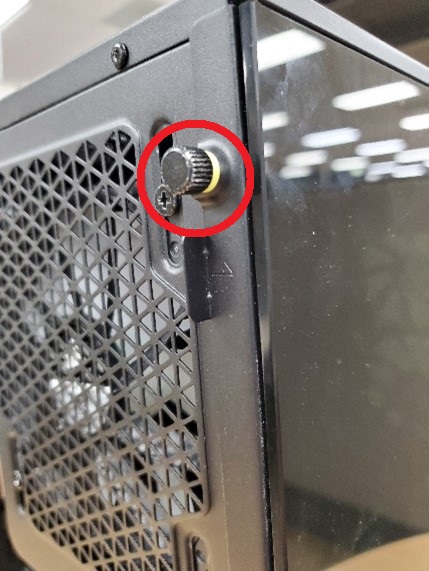
- Remove the side panel of your Vengeance PC by unscrewing the two screws at the back of your system and lifting the panel out.
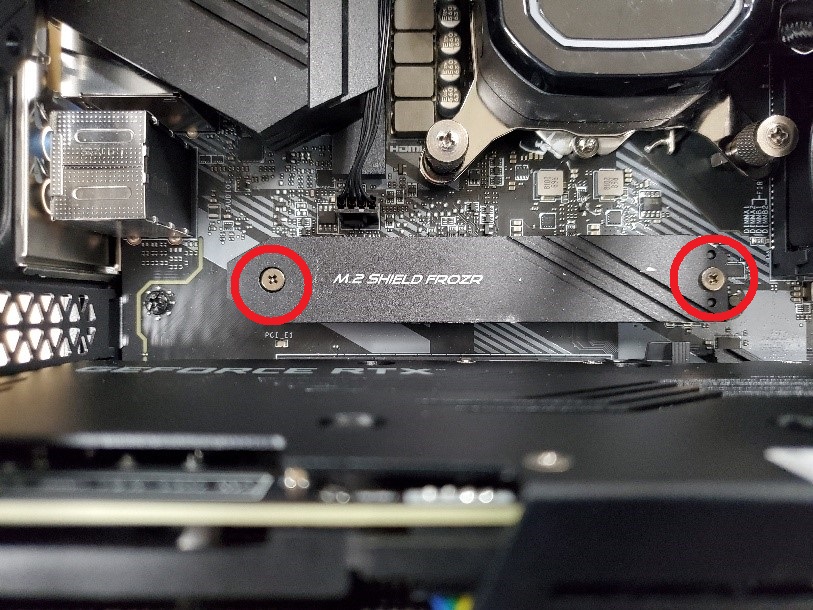
- Find the NVMe SSD directly underneath the CPU and above the GPU.
- Unscrew the two screws holding down the heatsink so you can access the SSD.
- Unscrew the screw holding down the NVMe SSD.
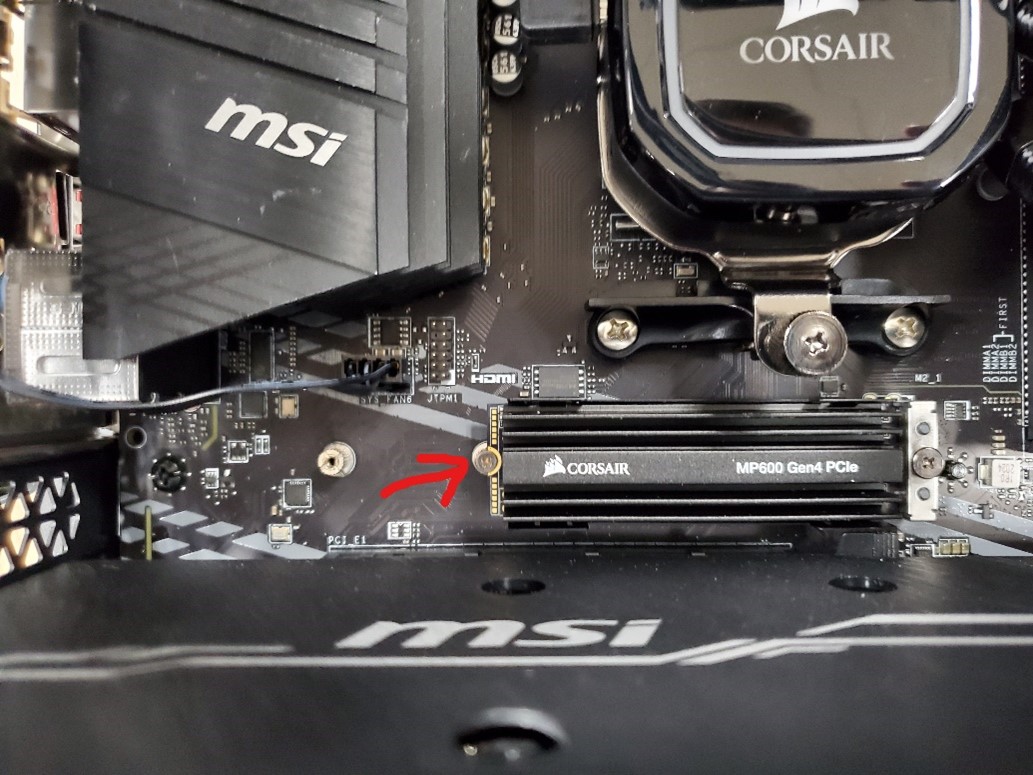
- Remove the NVMe SSD from the M.2 port after it pops up.
- Take your new NVMe SSD and press it into the M.2 port; you may feel a slight click.
- Fasten your new SSD with the same screw that held down your old SSD.
- Refasten the heatsink above the SSD,
- Reattach the side panel of your Vengeance PC case.
- Power on your Vengeance PC and check for any issues.